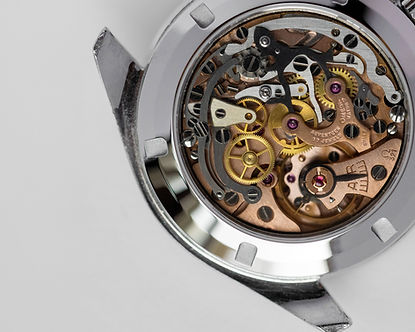
Installing a Speedmaster Type Bezel
This is a guide for the Do-It-Yourself installation of a bezel on a Speedmaster.
Please note this guide will focus on installation of a caseback using our 3D-printed tools and a dedicated crystal press where necessary.

01
Identify Your Watch Type
Check
02
Prepare Your Press
(A Press Is Generally Needed For Pre-3861 Bezels)
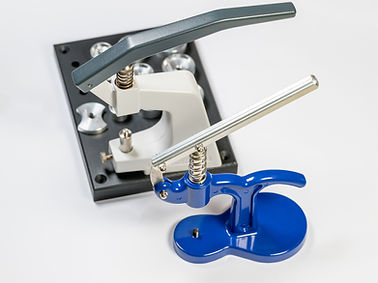
The installation can be performed with both premium and inexpensive crystal presses, such as this $600 Bergeon 5500 or this $20 generic set.
03
Select Press Dies
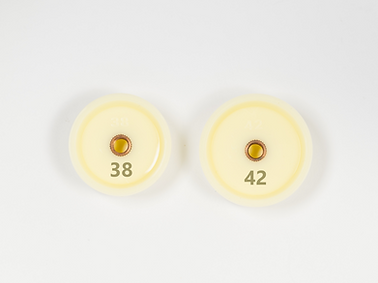
We generally find it easiest to use a 42mm die for the bezel side, and a 38mm die to support the caseback.
Note: It is generally a good idea to support the watch head with a die on the caseback so force is not transmitted through the crystal.
04
Install Press Dies
Our standard installation process utilizes the dies in the configuration shown. Inexpensive presses may exhibit a lack of parallelism, which tends to make installation slightly more difficult, but not impossible.


05
Remove Bezel
Utilizing the round
06
Secure Your Toolset
The caseback tool for the Omega Speedmaster can then be stored in a compact arrangement by pressing the round tool into the holder tool.
