top of page
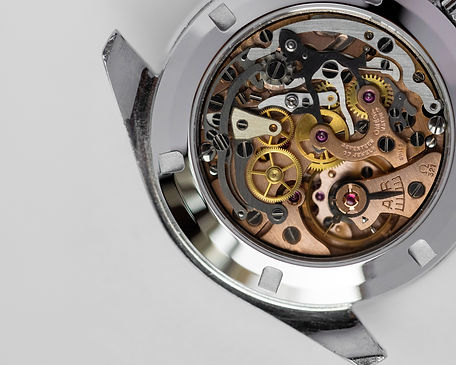
Installing a Rolex-Style Caseback
This is a guide for the Do-It-Yourself installation of a Rolex-style caseback.
Please note this guide will focus on installation of a caseback using our 3D-printed tools (If you have a dedicated toolset, you probably already know the process).
01
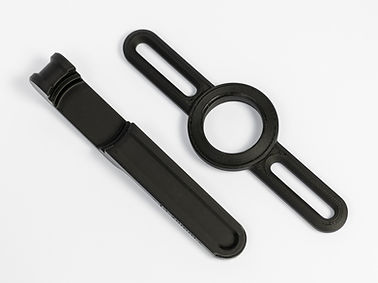
Locate Your Toolset
Ensure you have both the Round Tool (shown top) and the Holder Tool (shown bottom).
02
Place Your Watch Head In The Holder Tool
Place the watch head crystal-down into the Holder Tool as shown. Ensure the bracelet has been removed, or the watch head will not seat properly in the Holder Tool.

03
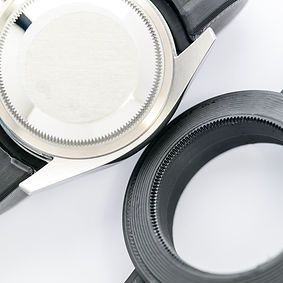
Mate the side of the Round Tool. Ensure the splines are engaged. Applying pressure will be necessary to ensure engagement. Turn the Round Tool counter-clockwise. Ensure the tools are aligned.
04
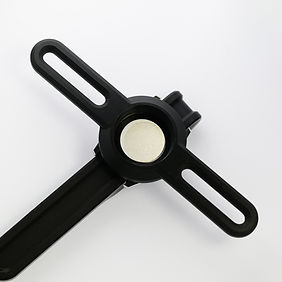
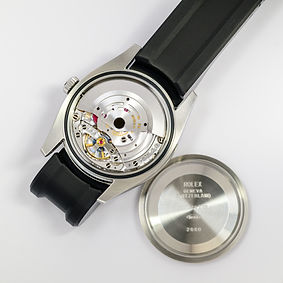
Unscrew Your Caseback With The Round Tool
05
06
Install Your Caseback
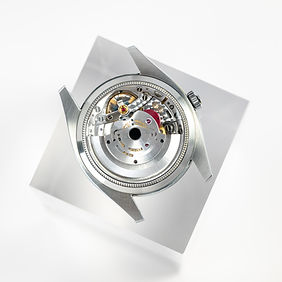
Place the caseback onto your watch, and lightly thread in with your fingers before screwing in with the tool to ensure tightness.
bottom of page